Login to macOS
Page updated: 2022-05-06
How to protect the login to your Mac with certificate based MFA
With Net iD Client and macOS (Big Sur or later) it's easier then ever to enable two factor login to your Mac with a smart card or a YubiKey!
What this guide will show you is how to replace this:
 with this

Here's how
A) Preparations
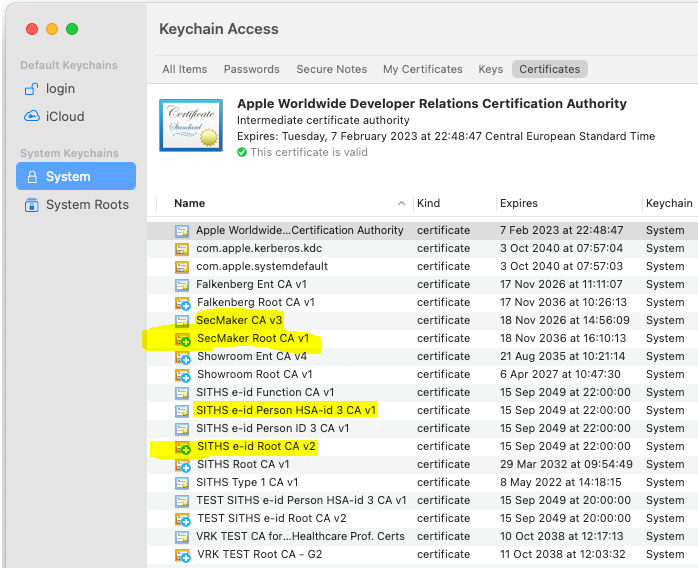
1) Make sure you install all relevant root and intermediate certificates.
This is maybe the most tricky part of this guide if you're not familiar with certificates and the application "Keychain Access" (Nyckelhanteraren)
However, in short:
a) If you use a certificate from EFOS then add the corresponding root certificate and the IssuingCA certificate to "System" in the application "Keychain Access".
b) If using a certificate from SITHS then add the corresponding root certificate and the IssuingCA certificate to "System" in the application "Keychain Access".
c) If using a certificate from your own CA then add the corresponding root certificate and the IssuingCA certificate to "System" in the application "Keychain Access".
Make sure to open the root certificate and set "Trust" - "When using this certificate" to "Always Trust" (you should after closing see a white + on light blue bottom for the root certificate)
It can look like this =>
2) Make sure you have a smart card or a YubiKey prepared with certificates.
3) Install Net iD Client (latest released version as of April 2021 is 1.0.1)
B) Use the pairing guide
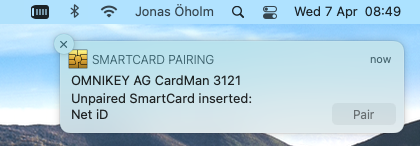
2) Insert your smart card or YubiKey.
You should now see the "SMARTCARD PAIRING" dialog at top right of the screen ("Lokal kontoparkoppling" in Swedish).
Just click on "Pair"
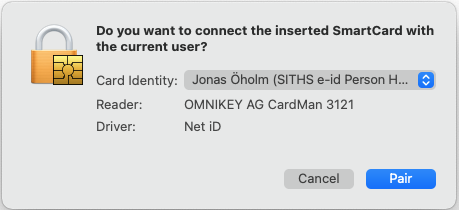
If there is more than one certificate to select from make sure to select the one labeled "identification", don't select the one for "signing"!
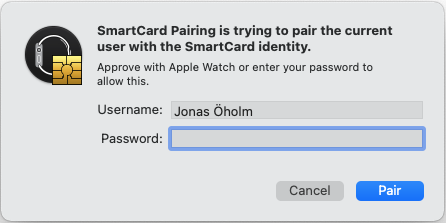
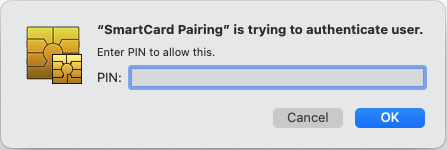
First you will have to enter your password associated with your Mac
The the PIN-code for the card/YubiKey
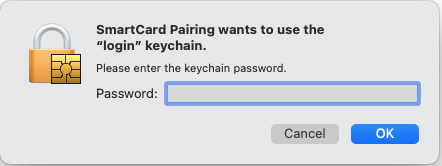
And finally the password once again (this is actually the password for the "login" keychain but normally it's the same as the password for your Mac)
C) Check the pairing
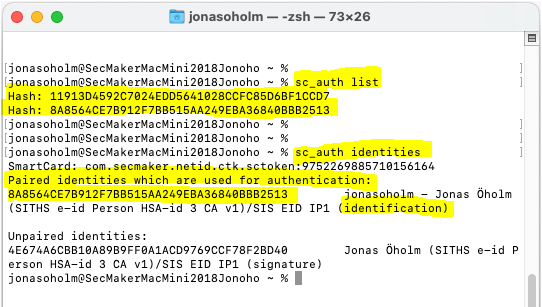
To check the pairing you will have to start "Terminal" and use the commands:
sc_auth list
sc_auth identities
Here you can see the output from a Mac where one YubiKey (119...) and one SITHS-card (8A8...) is paired to the account "jonasoholm".
But only the SITHS-card is inserted at this moment:
If you would like to unpair a lost card before pairing a new one you will have to use this command:
sc_auth unpair -h 8A8564CE7B912F7BB515AA249EBA36840BBB2513
Note: Replace "8A8564CE7B912F7BB515AA249EBA36840BBB2513" with the value you see on your own screen when checking with "sc_auth identities"
D) Check the trust for you certificate
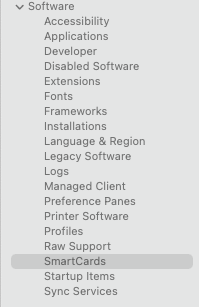
To check that the paired certificate is fully trusted you can use the application "System Information". You can easily find it via the button "System Report" in the about box

Click on "SmarCards" under the section called "Software"
What you should check is:
a) The first and second section, "Readers" and "Reader Drivers", must be
present and have information like below (the reader can of cause be of a different brand and model)
b) "SmartCard Drivers" must list "com.secmaker.netid.ctk.sctoken"
c) Under "Available SmartCards (keychain):" you should see a number after com.pointsharp.netid.ctk.sctoken. You should also see the section "-----BEGIN CERTIFICATE-----" and most important; both "SSL trust" and X509 trust" must show "YES".
If you don't have "YES" mentioned above you have missed something under Preparations above (1)
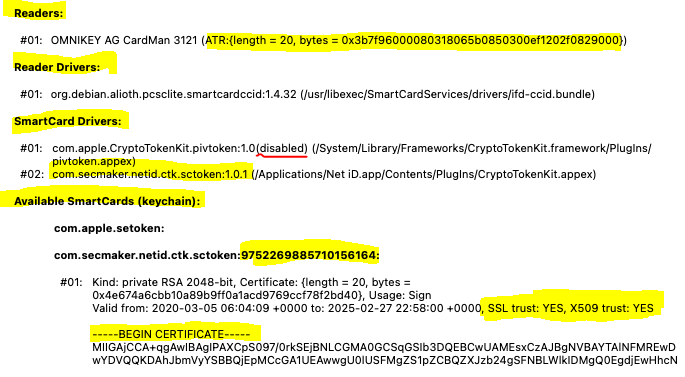
Note: If you have a YubiKey you might want to disable "com.apple.CryptoTokenKit.pivtoken" to avoid having two CTK-modules trying to read the YubiKey:
sudo defaults write /Library/Preferences/com.apple.security.smartcard DisabledTokens -array com.apple.CryptoTokenKit.pivtoken
E) Before you try
1) If you use FileVault (the built-in disc crypto in macOS) you should use this command in Terminal:
sudo defaults write /Library/Preferences/com.apple.loginwindow DisableFDEAutoLogin -bool YES
This command is necessary since FileVault only supports passwords. And if you don't use the command you will never see the PIN-prompt for login, just for unlocking. This also means that the login sequence will be:
a) Enter password to unlock FileVault
b) Enter PIN to login to you Mac
Not optimal, but we can't do anything about it, this is by-design from Apple.
Note:
For Mac models with TouchID the command above does not seem to be sufficient. Please let us get back with a clarification when we have it (yes, we have done some googling but no distingt answers)
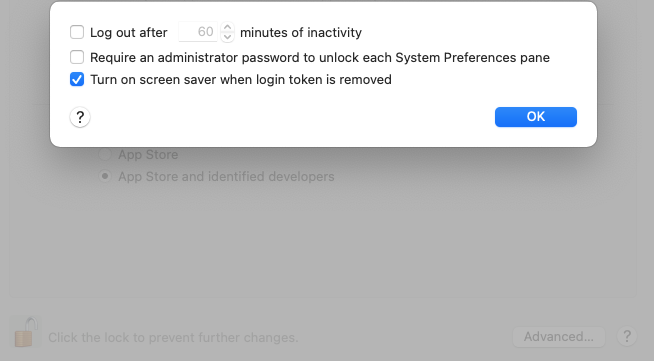
2) If you want your Mac to lock when you remove your card or YubiKey you will have to use the button "Avanced..." under "Security & Privacy" in "System Preferences". There's a checkbox there called "Turn on screen svaer when login token is removed".
(In Swedish it's called "Aktivera skärmsläckare när inloggnings-ID-bevis tas bort")
F) Try it
1) Start with just locking your Mac with CTRL + CMD + Q
Maybe you will have to wait some seconds but the promt should say "PIN", not "Enter Password"
2) If unlock worked now try to reboot your Mac, enter password for FileVault and then check for the prompt to change from "Enter Password" to "PIN"
3) You will also notice that other prompts will say "PIN" instead of "Enter Password" when for example
Note:
macOS also have the possibility to let you login not only to the local account but also to an Active Directory domain. More about that later... (may take a month or two)